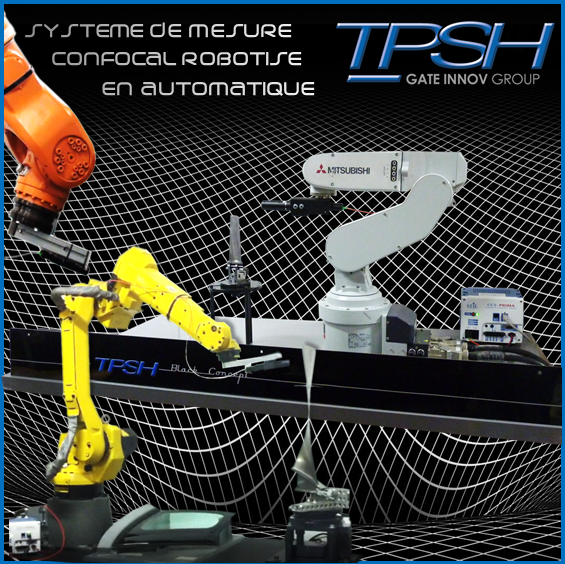
AUTOMATION OF THE HIGH-SPEED CONTROL CYCLE.
We have developed a robotic confocal measurement system that allows the detection of defects (such as breaks, cracks, holes, etc…) according to size and location criteria. The objective is to analyse the conformity of the measurements with respect to the reference values, to give the characteristics of the deformations of the part and to guarantee the deliverables to the final customers by executing an automated inspection report for each measurement.
OUR ROBOTISED 3D CONTROL SOLUTION: THE ROBOT AND A 3D MEASUREMENT SYSTEM ASSOCIATED WITH VARIOUS SENSORS (3D OPTICS, LINE LASER, CONFOCAL POINT, CONFOCAL LINE, ETC.)

Our means, turnkey, fast, precise, customisable, easy to integrate into any industrial environment, delivered with a dedicated HMI, guarantee the improvement of inspection time and the optimisation of human resources.
SOME CHARACTERISTICS:
- ☑ Diversification of robots + MPLS for measuring (accuracy of the order of 0.1mm – 0.01mm)
- ☑ Development of a calibration principle applicable to industrial robots
- ☑ Lateral accuracy of approx. 0.5mm or 50µm
- ☑ Trajectory speed 12.87s
- ☑ Robot positions sent every 12*ms – accuracy 1.2µm
YOUR INDUSTRIAL ADVANTAGES:
- ☑ Control and measurement of distance by wavelength analysis
- ☑ Checking for positioning errors
- ☑ Contactless multi-room control
- ☑ Reduced inspection cycle time
YOUR BENEFITS:
- ☑ Significant drop in data entry errors
- ☑ Traceability of detected results
- ☑ Quick results by point cloud and key figures
- ☑ Customised definition of the chosen precision
