OPTICAL TECHNOLOGY COMBINED WITH AUTOMATED TOPOLOGICAL ANALYSIS.
TOCATA.
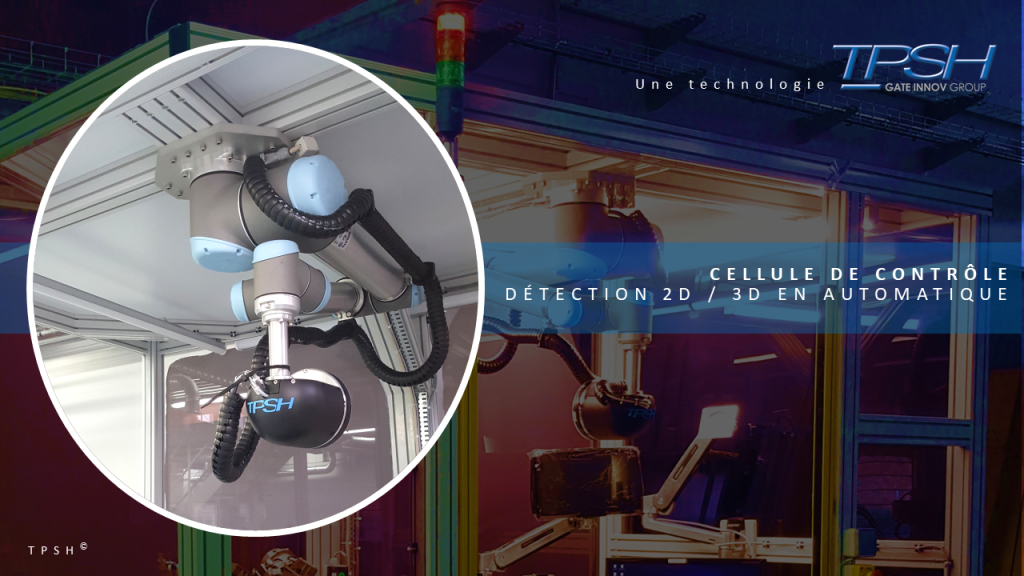
The solution we developed can involve several non destructive inspection means. You can plug Eddy current’s unit, ultrasonic, thermography, or vision unit. First step is measuring the shape of the part; the trajectory is then adjusting to the part, in order to optimize the orientation of the measuring mean and the inspection strategy. The system focuses on defects area for a characterization. Using multi-technology units enables the system to merge data for an easier, faster and more accurate decision making.
The solution also offers inspection reports via a HMI for a better traceability of the results.

